Instax Mini 7 Plus Light Settings: Detailed Guide
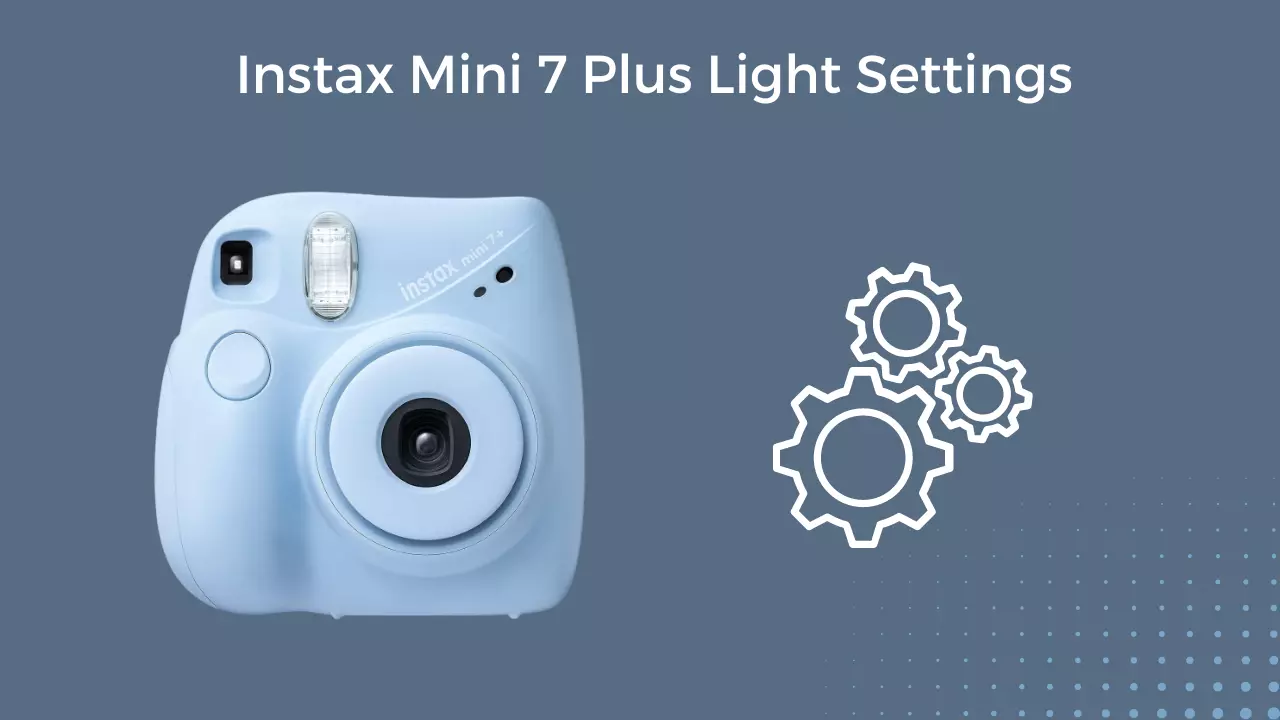
Instant cameras tend to be very easy to use, with a smooth learning curve. However, one main challenge is finding the perfect lighting; many users tend to get underexposed or overexposed photos before they get it right. Instant cameras do not give much control over the lighting. Hence, it is better to understand the light settings offered by your camera and to select the right one for your shot.
In this case, we narrowed down to the Instax mini 7 plus camera and highlighted its light settings for better understanding. This camera comes with four light settings—indoor, bright, fine, and cloudy settings. Each of these settings is contingent on the amount of light allowed to enter the lens. The aperture range is from f/12.7 to f/32 with the indoor setting having the largest aperture and the bright setting with the smallest aperture.
This article aims to highlight the different light settings on the Instax mini 7 plus and when to use each of them so you can always take perfectly lit photos.
Instax Mini 7 Plus Light Settings
Perfect photography involves using the right light setting in the right environment. But that is not always possible with instant cameras. You can easily get discouraged over the films you have wasted on underexposed or overexposed photos.
But it does not have to get to that only if you understand the different light settings offered by your camera.
The Instax mini 7 plus, for instance, comes with four light settings. It is important to note that there is no automatic light indicator in this camera. This means that you will have to manually choose the light setting.
If you can get the light setting right, then you need not worry about anything else as the focal length, shutter speed, and other factors are taken care of by the camera. You have to choose from the four lighting options offered by this camera; indoor, cloudy, fine, and bright.

Indoor Light Setting
This setting is the brightest of the four with an aperture of f/12.7 allowing most light to enter the lens. This setting is intended to be the default for any indoor shots—there is really no alternative.
This is a setting you are advised to go for any time you are taking photos inside, regardless of whether it is a bright hall or a dark room. Unfortunately, it can be noted that this setting is as remarkably bright as it should be. Therefore, you can use different techniques to try brightening up the photo.
Cloudy Light Setting
This setting can be described to be in the middle of indoor and outdoor settings. If you are taking your shots outside without adequate light, it is the best setting to go for. It translates to an aperture of f/16 which is brighter than other outdoor settings.
Fine Light Setting
This setting is ideal for a clear sunny day. You can count on it to produce well-balanced photos with an aperture of f/22. This setting allows a limited amount of light into the lens and hence you must ensure that there is adequate daylight when using the setting.
Bright Light Setting
This is the go-to if you are shooting in extremely bright conditions. It has the smallest aperture, f/32, to allow just a fraction of light into the lens to avoid overexposure. However, it is important to note that the difference between fine and bright settings is very small.
When Do I Choose Which Light Setting?
After getting to know the different light settings offered by the Instax mini 7 plus, the next thing is to understand the right to choose each setting.
The indoor setting is the one to use for all indoor shots. If you use any other setting, you are likely to get an underexposed photo. There is not much discussion with this setting. The issue comes in when taking outdoor shots in low-light conditions.
These conditions include when it is extremely cloudy when the sun is setting, under shades, or under a tall building’s shadow. It all boils down to preference—you could choose either the cloudy or indoor setting. It is advisable that you keep practicing in different light conditions to make it easier.
The fine setting is ideal when there is plenty of natural light while a bright setting can be used when you are under direct sunlight.
FAQs
How Do I Get the Perfect Exposure With My Instax Mini 7 Plus Camera?
To get the perfect exposure, ensure that you use the right setting prioritizing your personal preference. Whenever you are taking shots indoors, ensure that you stand within 2 to 3 feet from your subject. This prevents you from taking underexposed photos. Moreover, if taking a group photo indoors, ensure that you are not too far from the subject. For outdoor pictures, the subject should be within 6 feet and opposite to the sun.
Is There Any Night Mode in My Instax Mini 7 Plus?
The instax mini 7 does not have a night mode. This means that the pictures taken at night are pretty average. However, you can always use the indoor setting and the flash to have a decent shot in low-light conditions.
Conclusion
It is common knowledge that lighting is pivotal in any photography. Thus, it is important to choose the right light setting to get good photos depending on what you are looking to achieve. If you go for a brighter setting in a bright environment, you will end up with overexposed photos that miss out on the details. Similarly, if you choose a darker setting at night, you will have an underexposed photo.
- Canon R5 Mark ii (Release Date, Price & Specs) - December 20, 2023
- Sony 100 400 vs 200 600: Which Telephoto Lens is Right? - December 15, 2023
- Sony A1 II Camera (Release Date, Price & Specs) - November 30, 2023

