How to Transfer Photos From Canon Camera to Computer – 3 Methods

As a photographer, you may have to save your records or perform other tasks such as editing and printing. This may require you to transfer them to a computer. Uploading these images and clips to your computer can be done easily.
Fortunately, you can apply different techniques to successfully link your Canon camera to your computer. A USB cable comes in handy in this case. It can then be connected to the camera and the other end to the computer’s USB port.
Alternatively, you can go the Wi-Fi route where both the camera and your PC are set up in the same network. The steps may slightly vary depending on the model of Canon camera you are working with and the type of computer, whether Windows or MacOS. Therefore, you are advised to consult the user manual for detailed instructions.
This article gives detailed information on the same, including the step-by-step process of doing so. Dive in.
How to Transfer Photos From Canon Camera to Computer?
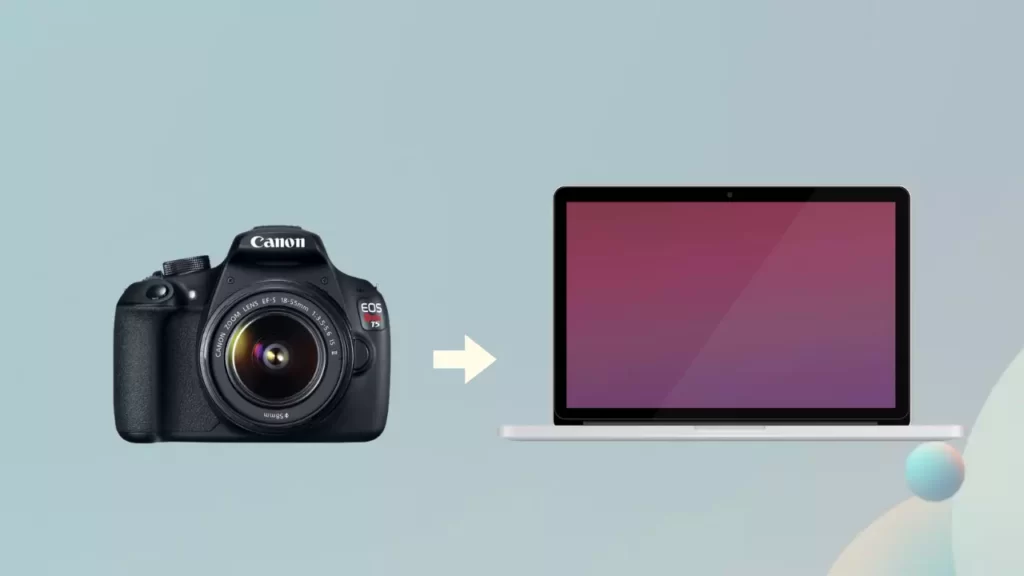
Transferring photos from a Canon camera to the computer is no hassle. You can choose an ideal technique from some varieties. These three techniques include wireless connection, using a USB drive, and attaching an SD card.
If you understand how to go about each of these methods, you can be assured that you will successfully transfer all the photos you need to transfer.
Utilizing a USB Cable
Using a USB cable has to an easier way to link your Canon camera to a computer. It is also notably fast and undoubtedly the most efficient way to transfer digital photos to the computer.
The USB cable is the best tool to use if you want to connect a digital Canon camera to your computer. Typically, the USB cord is included with Canon cameras, but it may go missing sometimes.
Therefore, the rate at which you upload your photos to the computer depends on the USB cord of your choice. Once you have the right USB cord, transferring the photos to the computer can be achieved by following the steps below.
Connect one end of a proper USB cord to the appropriate USB slot on the Canon camera. Then, insert the other end of the USB port on either corner of your computer. Afterward, switch on the camera and await some instructions to appear on the computer screen.
Follow these instructions so you can import your photos to an appropriate photographic viewing program. They may slightly vary depending on whether you are working with Mac OS or a Windows PC.
Attaching an SD Drive
Employing the SD drive is also an excellent way of connecting your Canon camera to a computer. This method is best suited for professionals who take plenty of photos and would like to preserve a copy of the records on an SD card. To successfully use an SD card to transfer photos, follow the steps below.
Firstly, ensure that the SD card can be placed into your computer through the appropriate slot. Put the digital Canon camera to sleep. From here, either click the SD card eject button or carefully pull it to eject it.
Then, wait for the SD file to show up on the computer screen after inserting the card into the SD card slot on the computer. You can then download the pictures on the SD card to your computer.
With this method, you may have to purchase an SD card reader if your computer does not come with one. The SD card can hold all data from the camera and you perform all the tasks that you wish to. You can also use the same procedure when your SD card is jam-packed and you want to empty it.
Wireless Connection
You can also decide to go with the current trends in technology and wirelessly connect your computer to the camera. It is the most recent method, assuming your Canon digital camera has wireless features such as Canon Powershot S110. If that is the case, the following steps will allow you to conveniently and instantly import all your pictures.
For starters, it depends on whether you are using the wireless connection method for a Mac or PC. Then, to access the internet, you are required to sync the computer to a trusted Wi-Fi network and then follow the wireless documentation for the Canon camera.
This will allow you to install the Canon driver software on your computer. From here, enable the wireless Canon camera transmission and switch on your camera.
Once your camera recognizes the Wi-Fi connection from the camera, access the photo folder that will display on your screen. Transfer the photos you wish to transfer into a reliable folder on your computer.
FAQs
What to do if you can’t transfer photos from the camera to the computer?
If that happens, it is important to know how to troubleshoot the issue. First, USB-connect the camera to the computer. Ensure that the camera is on and in computer mode. Then, use the computer’s file explorer or the canon EOS utility to access and transfer the photos from the camera.
What to do if the camera software is not working properly?
For this issue, you can get the latest version of the software from Canon’s website and install it. Then, check to see if your computer meets the needs of the software. Restart your computer, and try again to open the software. If the problem persists, try talking to a professional.
How can I get my Canon camera to show up on my computer?
You need to ensure that your Canon EOS settings panel is opened. This features the options for Wi-Fi and NFC and auto power off. Before you connect the camera to your computer, disconnect them. Your Windows PC will then be able to identify your Canon camera.
Conclusion
It is now easy to transfer photos from your Canon camera to a computer. You can choose one of the three methods above that best suits your needs. With the right tools, you will be good to go.
You Can Also Read:
- How to Transfer Photos From Canon Camera to Phone
- How to Charge a Camera Battery Without a Charger
- How to Connect Godox Flash With Trigger
- How Long Does a Canon Battery Take to Charge
- Canon R5 Mark ii (Release Date, Price & Specs) - December 20, 2023
- Sony 100 400 vs 200 600: Which Telephoto Lens is Right? - December 15, 2023
- Sony A1 II Camera (Release Date, Price & Specs) - November 30, 2023

