How to Put Film in Instax Mini 11 In Just 5 Steps

The Fuji Instax mini 11 is a favorite for many. It is not only easy to use, but also affordable and very fun to use. However, just like any other instant film camera, there is a learning curve. And one of the tests comes in when you want to put the film in your camera.
To put the film in your Instax mini 11, you will need your camera in hand, and a film pack. From here, go ahead and open the back cover. Here, you should see a yellow mark at the top right corner—this guides you on how to place the film.
Therefore, align the yellow sticker on the film cartridge with that on the film compartment. Placing the film in the wrong position could damage the film or camera. You can now close the cover, eject the black cover film, and get to shooting your photos.
This article takes you through this procedure in more detail so that you can never go wrong or damage the film while at it. Read on.
How to Put Film in Instax Mini 11?
If you just purchased your first Instax mini camera, one main question is how you go about inserting the film. While it is a simple process, it is definitely not something that you improvise—it has to be done right.
The instant films tend to be very delicate such that even the slightest of bending and you risk damaging the entire cartridge and losing all 10 shots. No need to worry, we have put together a guide that gives a step-wise procedure of how to put film in your Instax mini 11.
The steps below are not necessarily specific to the mini 11 but can be applied to any Instax mini film camera, including and not limited to the mini 12, mini 11, and mini 9. However, it is advisable that you refer to the instructions that always come with the packaging before you attempt to insert the film.
Step 1: Load the Batteries
The first step will be to load batteries in your camera. There is virtually nothing you can do with the camera if it does not have working batteries. the Instax mini 11 utilizes two AA alkaline batteries that are fortunately very easy to find.
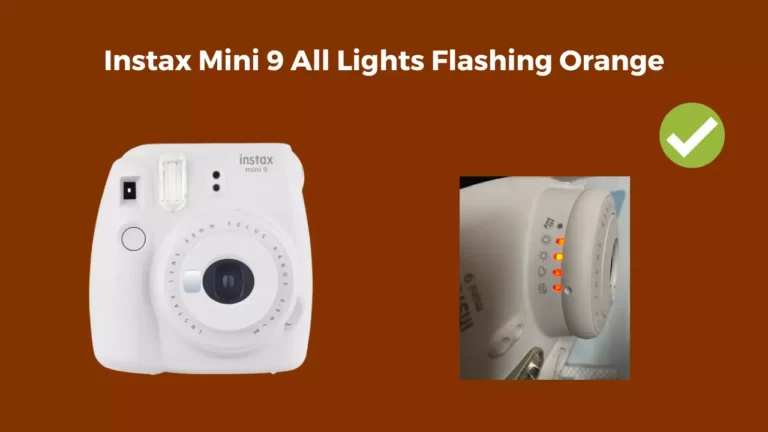
If you have just purchased the camera, then you should find a set of these in the packaging. Install the batteries the right way and then close up the battery compartment. With the right batteries, the orange LED indicator should turn on once the camera is turned on.
Step 2: Get the Right Film
All instant film cameras require a specific film onto which the photo is printed. For the Instax mini 11, you will need the Fuji Instax mini film. It is important to get the right film for the working of the camera. In the same vein, the Instax wide, Square, or any Polaroid format film will not be compatible with this camera. The Instax mini film is available in color and black and white.
Step 3: Place the Film
The new film pack comes with a package that you should open up. Then, locate the latch that keeps the back cover closed and open it. There is a yellow mark on the top right corner of the film compartment that dictates how the film should be placed.
Place the film by aligning the yellow mark on the cartridge with that on the camera. The ‘open’ side of the film should be placed facing downwards.
Step 4: Turn on the Camera.
Once the film has been successfully loaded, turn on the camera. Ideally, the darkslide should be automatically ejected, but if that is not the case, press the shutter to eject it. The darkslide is responsible for protecting the film from light before it is loaded into the camera. This can then be discarded once it is ejected.
Step 5: Take a Photo
The last step is to take a photo! The prints should be ejected in vibrant colors.
FAQs
What are some common mistakes to avoid when adding film to the Instax mini 11?
Extreme care should be taken to avoid exposure of the film to light. The film tends to be very sensitive and light can lead to overexposure. Also, take care not to shake a developing film to avoid blobs. Whenever you are handling the film, ensure that you do not fold, bend, or crease the film before it is fully developed. Exposure to water and high temperatures should also be avoided.
How long can you store the instax mini 11 films for?
The Instax mini film can last up to four weeks in the camera. However, it is recommended that you use up the film within two weeks so you are assured of the best quality images. Still, if it is properly stored, then it can last for several months in its packaging. Developed photos can last for years.
How can I safely store the Instax mini-film?
The best way to store the Instax mini film is in a dry place at 14 degrees Fahrenheit. You should also ensure that it will not be exposed to sunlight, it is away from high temperatures, and away from contact with water.
Conclusion
You can always count on the Instax mini 11 camera to take beautiful photos and print the instantly. However, the main difference between this camera and the digital cameras, is that you will be required to load the film.
But hopefully, from the article above, you realize that it is not a difficult process. Ensure that you do it correctly so that you do not damage the film or the quality of your pictures.
You Can Also Read:
- Instax Mini 11 Film Not Coming Out
- Why Is My Instax Mini 11 Blinking Orange
- Instax Mini 11 Orange Light Flashing
- Instax Mini 11 Not Working With New Batteries
- Instax Mini 11 Photos Coming Out White
- Canon R5 Mark ii (Release Date, Price & Specs) - December 20, 2023
- Sony 100 400 vs 200 600: Which Telephoto Lens is Right? - December 15, 2023
- Sony A1 II Camera (Release Date, Price & Specs) - November 30, 2023

