How to Connect Godox Flash With Trigger: Everything You Need to Know

Many photographers have not yet mastered the art of flash photography. This could be owing to the fact that it comes with diverse settings and terminology with a steep learning curve. Hence, people avoid it rather than adopt this new game-changing aspect of photography. Flash triggers are the solution you are looking for.
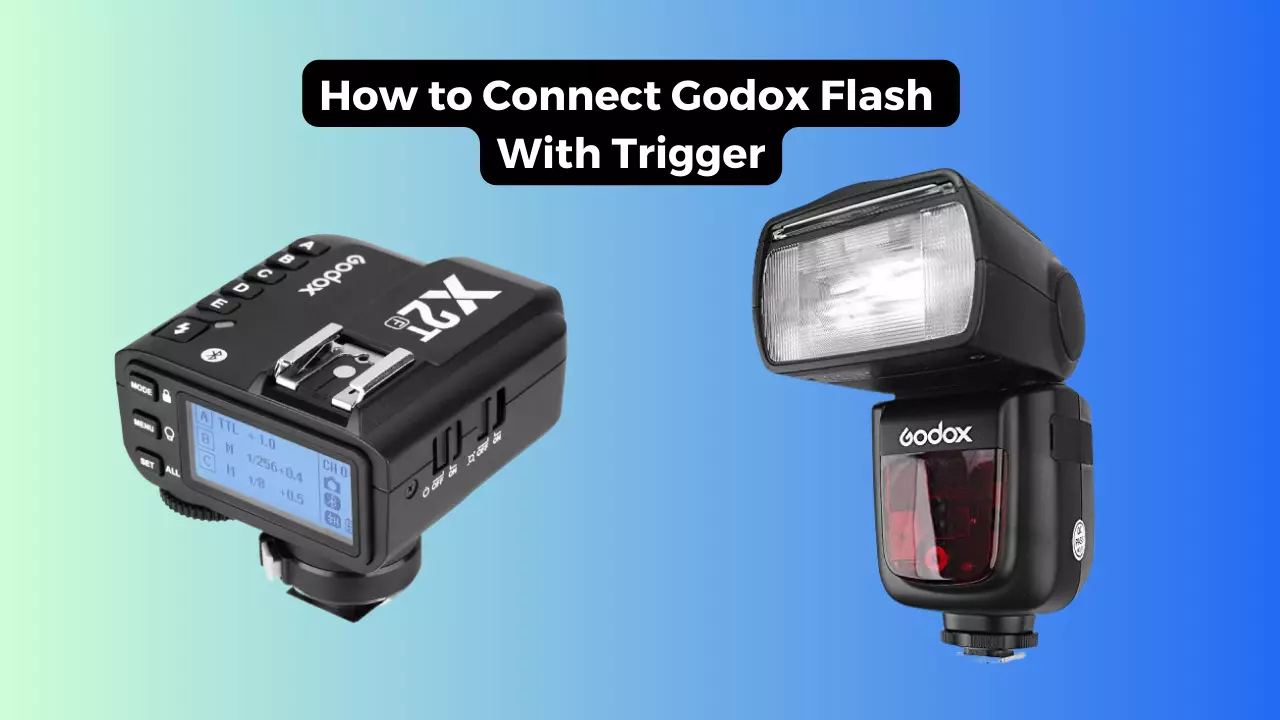
The next obvious question is how to connect Godox flash with a trigger. Luckily, you can easily pair your Godox flash with a trigger by following a few steps. There are several connections you will need to make hence you are required to be keen while doing so.
Also, it is important to keep in mind that the Channel number should be the same in the flash and trigger. Moreover, ensure that you link the devices with compatible GR numbers whenever you are connecting your Godox flash with the trigger.
Not many people are familiar with the process of connecting the Godox flash with the trigger. That is where this article comes in. It focuses on the pairing procedure so you can be able to handle it.
How to Connect Godox Flash With Trigger
Flash photography can be said to be a game-changer in the field of photography. However, only a few have embraced it, and a handful know how to go about it. Many photographers opt for the safer side and do not go beyond natural light when taking photos.
No need to worry—flash triggers are the way to go. So, how do you connect the Godox flash with a trigger?
Connecting the Godox flash with a trigger is a simple step-wise process. There will be several connections you will have to make, but ultimately, ensure that the Channel or CH number remains the same for the trigger and flash. Also, ensure you link the devices with their respective compatible GR numbers.
What Is a Flash Trigger?
For starters, it is important to understand what the flash trigger is and what it does. This gadget is designed to trigger an external flash to use its own light source rather than the camera’s flash.
This trigger is connected to the flash through the camera’s hot shoe. When the user presses the shutter button, the camera will generate an electrical impulse to the trigger. This will in turn activate the external light source.
What Are the Advantages of Flash Triggers?
Flash triggers come with many benefits. For one, they are super lightweight and durable. You do not need an electrical bulkhead. They permit the utilization of lightweight fiber optic cables. They also use less battery power. Moreover, they are designed to constantly trigger simultaneously with the camera’s shoot.
How to Connect Godox Flash With Trigger?

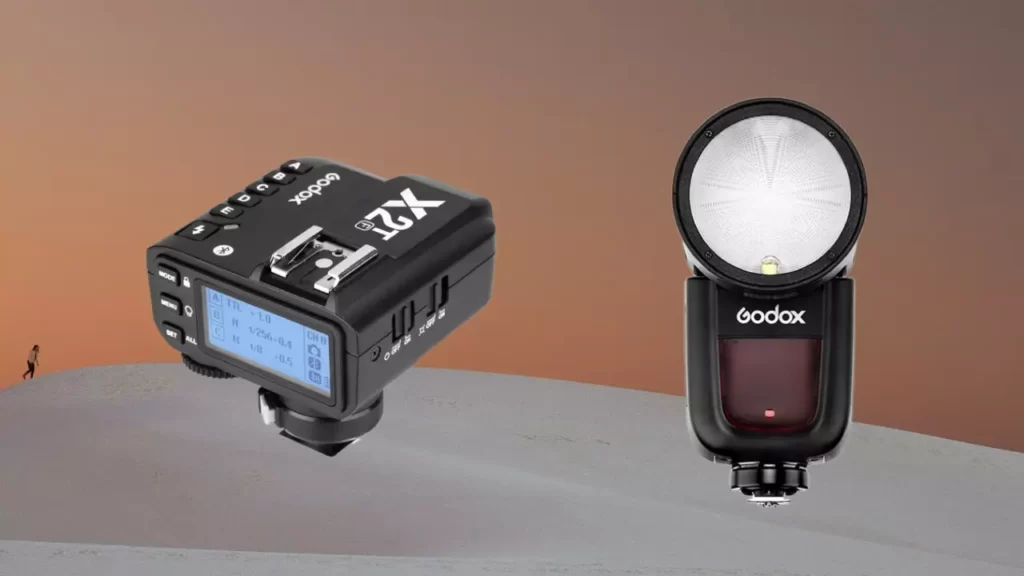
Now, we can get to how to connect the Godox flash with the trigger. Since not all controllers and flashes are the same, we will outline the instructions for connecting various Godox triggers to various flashes.
Connecting Godox X1 trigger with Godox flash
Below is the procedure to connecting the Godox X1 trigger with a Godox flash.
The first step is to insert the required batteries into the flash and then turn it on. Pressing the right and left buttons of RST at the same time resets the flash. From here, press the mode button thrice.
This activates the i-TTL mode. On the right side of the flash, locate and hit the ‘Z’ button twice, choose the receiver mark, and press the first button twice to set CH1.
Afterward, click the trigger’s mode button and rotate the dial to align the ‘A’ with the white marking on the trigger. Now you can set the trigger on the camera and test the connection.
Connecting Godox X1T to double V850 II flashes
To set up the trigger, turn it on and adjust the channel and GR to suit your needs. And then, for the first flash, you are required to turn it on and press its mode button. You should be able to see the wifi symbol at the bottom of the screen.
Then, rotate the dial to move the wifi symbol to the letter ‘S’. Set the channel while keeping in mind that the flash and trigger channel numbers should be the same. Select group A by spinning the dial.
To set up the second flash, turn it on and set the CH and GR groups by following the procedure above. A general rule of thumb is that if you set GR ‘A’ for the first flash, it is wise to set GR ‘B’ for the second.
From here, you will be able to control both flashes by changing the GR on the trigger. Selecting GR ‘A’ in the trigger sends a command to the first flash.
This video may also help you.
FAQs
What are the common types of triggers?
There are several varieties of triggers but the most prevalent are manual triggers and smarter triggers. Manual or dummy triggers work by regulating the routes through which the signal transmits. However, when you need to make any more modifications to the flash, you will have to make them directly on the flash. Meanwhile, for smarter triggers, you can directly control almost all functions of the flash from the camera’s trigger.
Can Godox trigger work with Sony Flash?
The Godox triggers are not suited for sony flash. However, you will find that the Godox XPro-S wireless trigger can connect to Sony cameras and can manage Godox flashes using the X-system. Thus, you can operate outdoor flashes, camera flashes, and studio flashes.
Does Godox XPro have Bluetooth?
The Godox XPro has Bluetooth capability so you can connect it to the Godox app. This convenient feature allows users to command the trigger and flashes as long as they are compatible with the app.
Conclusion
Flash photography is a path not many are willing to take. But thankfully, Godox has made it much easier. The only mystery is how to connect the Godox triggers with Flash. Hopefully, this article has demystified it for you.
You Can Also Read:
- Can You Use 120 Film in a 35MM Camera
- Can You use Nikon Lenses on Canon
- Why Is My Canon Camera Not Taking Pictures
- How Long Does a Canon Battery Take to Charge
- How to Charge a Camera Battery Without a Charger
- Canon R5 Mark ii (Release Date, Price & Specs) - December 20, 2023
- Sony 100 400 vs 200 600: Which Telephoto Lens is Right? - December 15, 2023
- Sony A1 II Camera (Release Date, Price & Specs) - November 30, 2023


